Add a New Site
There are three ways to get a site into Sitepins. Most people use the first.
| Path | Use it when | Where it starts |
|---|---|---|
| Connect an existing repository | You already have a static site in Git | Add New Site button |
| Clone a template | You’re starting from scratch | Template gallery |
| Import a purchased theme | You bought a premium theme from Themefisher or GetHugoThemes | A link from the store after checkout |
Connect an Existing Repository
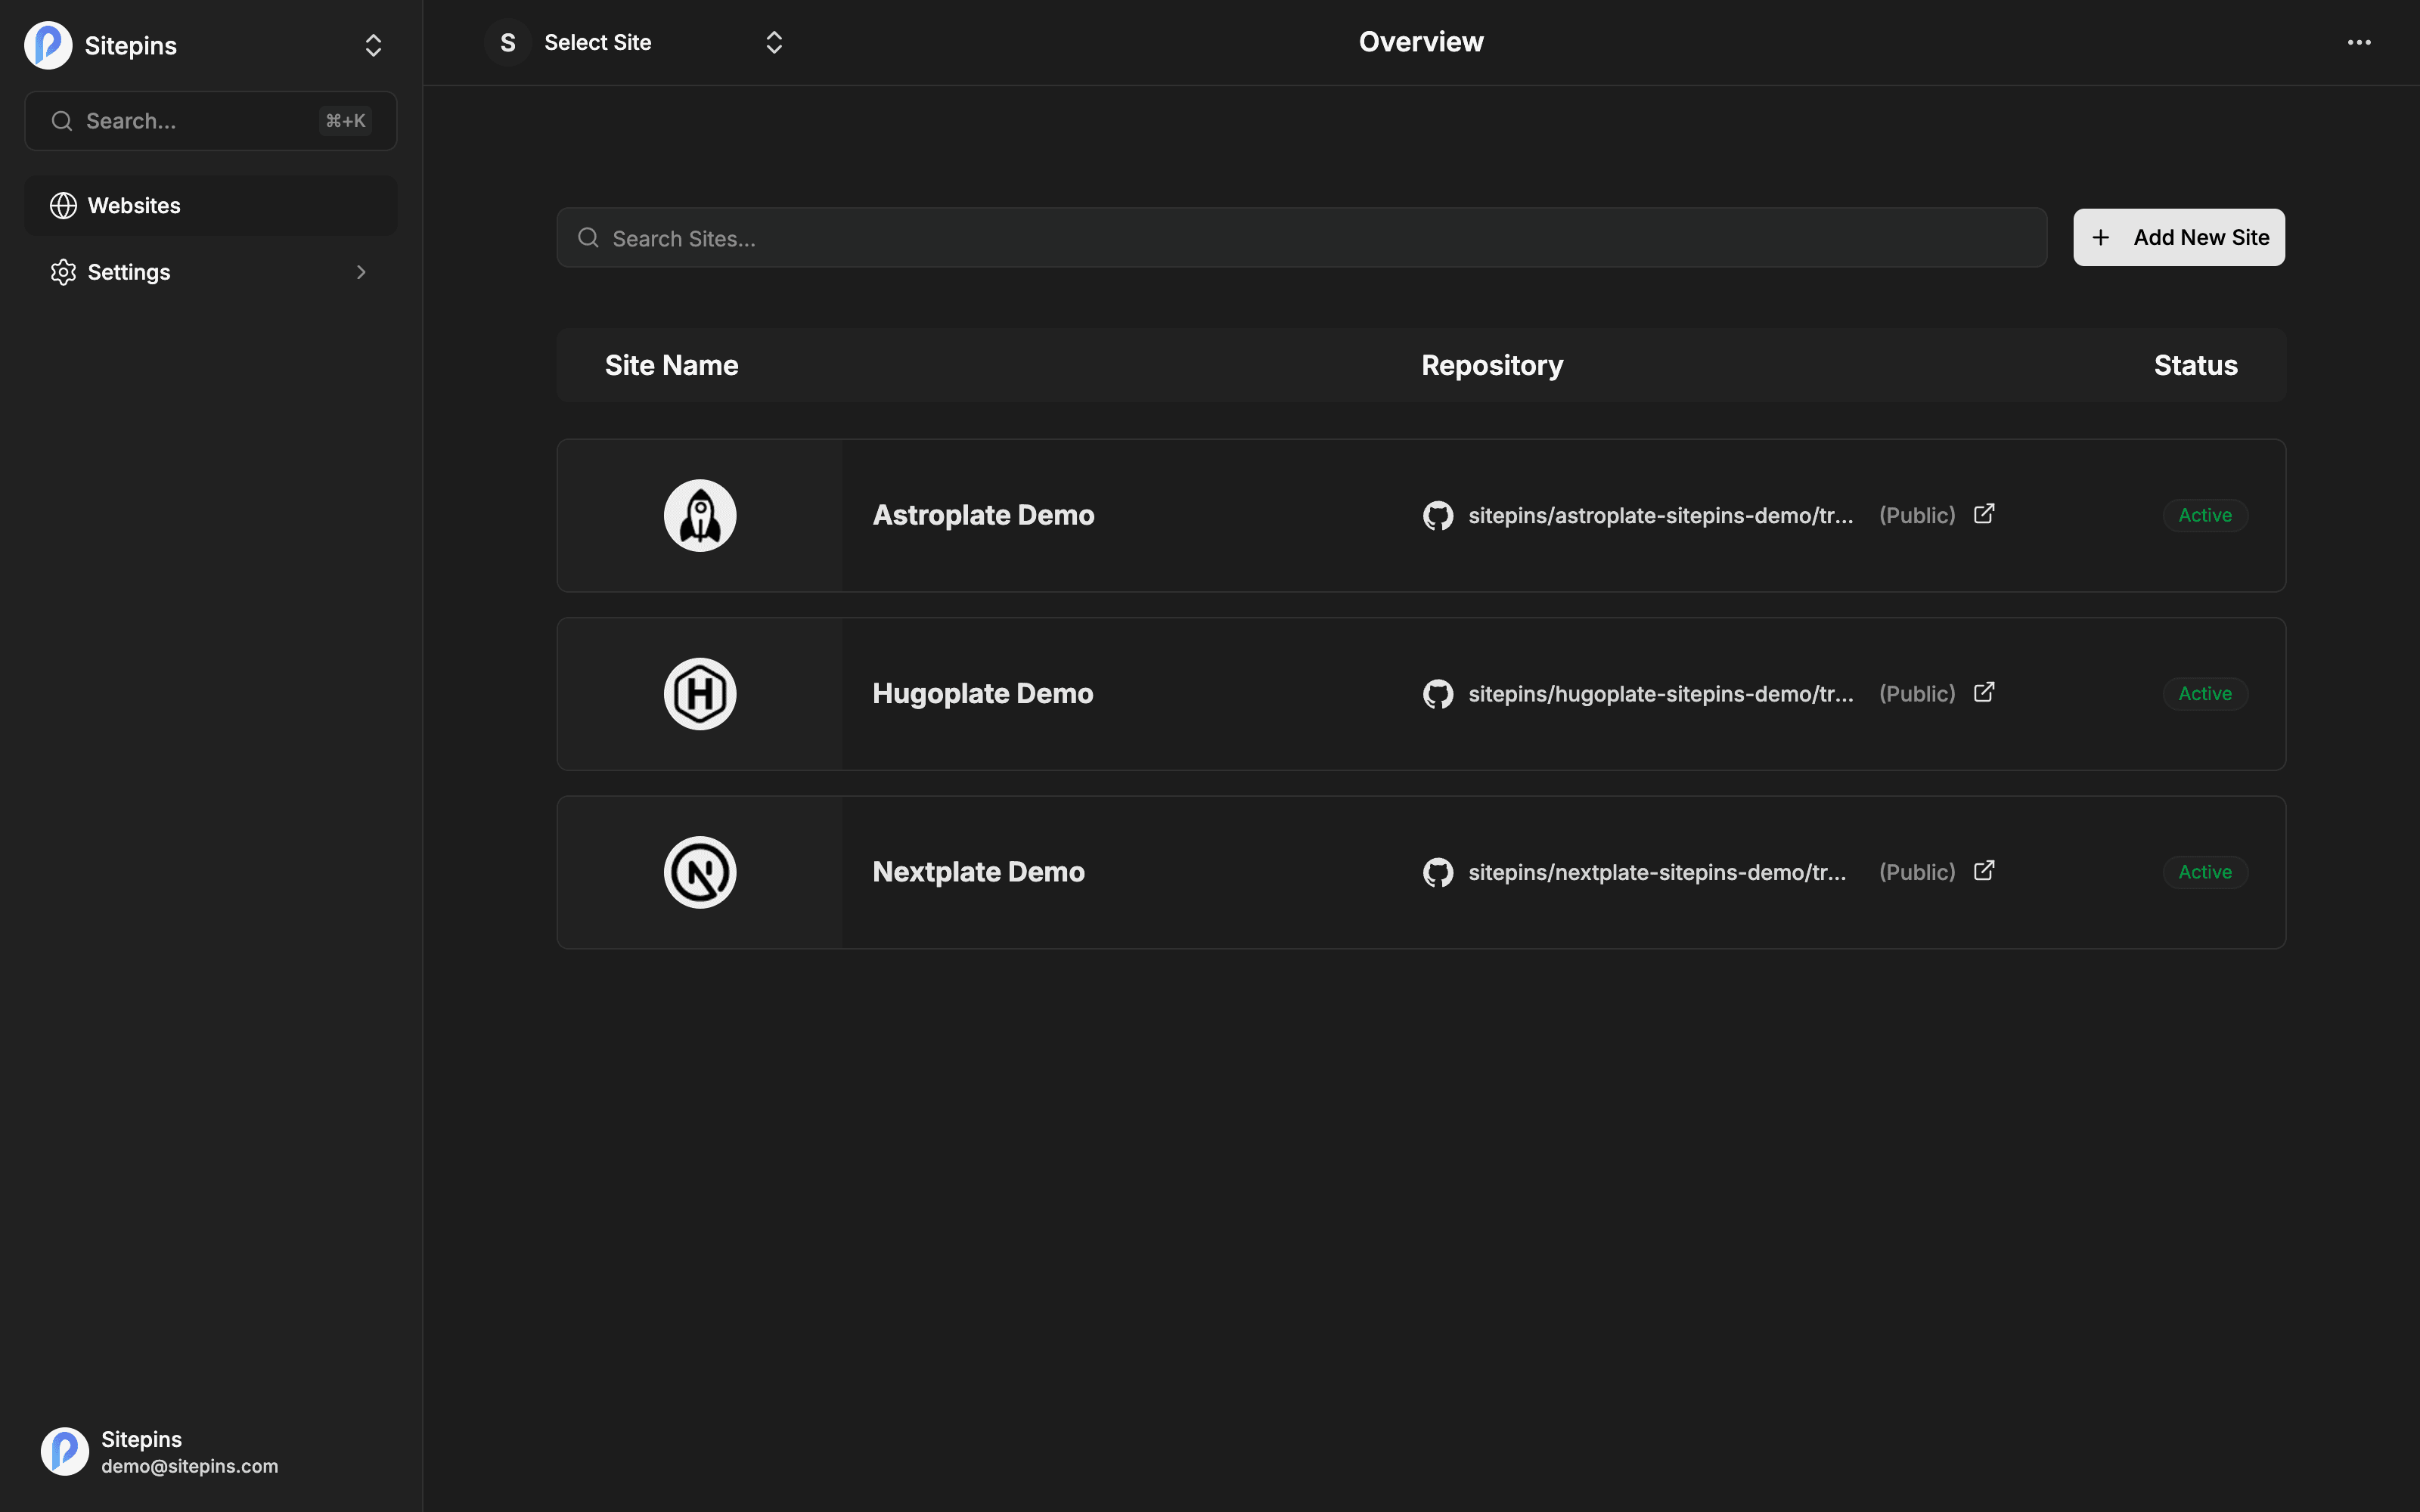
- Click Add New Site.
- Choose a Git Provider — GitHub or GitLab.
- Authorize the provider if you haven’t already (see below).
- Pick a Repository from the searchable list.
- Pick a Branch. The repository’s default branch is preselected.
- Give the site a Name — how it appears in your dashboard.
- Set Visibility to match the repository.
- Optionally add the Website URL where the site is published.
- Click Create Site.
Team plan. GitLab repositories require the Team plan on Sitepins Cloud. GitHub is available on every plan, and self-hosted installs support both providers with no restriction.
Plan limits apply to how many sites and private sites your account can hold across all organizations you own, with no repository dependency. See Plans & Limits.
Authorize Your Git Provider
GitHub
Sitepins connects through a GitHub App, not a plain OAuth login. When you pick GitHub for the first time, a window opens where you install the app and choose its scope:
- All repositories on the account, or
- Only select repositories you pick from a list
The app requests write access to repository contents (so it can commit), plus pull requests, checks, and commit statuses (so branching, PRs, and build status work). Read Git Repository Settings for the full permission list and what each one is used for.
If you’re installing into an organization you don’t own, GitHub sends an installation request to an owner instead. You’ll see a “Installation Request Sent” screen — the repositories appear once someone approves it.
GitLab
GitLab uses OAuth. A window opens asking you to authorize Sitepins with api and read_user scope. Approve it and you’re returned to Sitepins.
Missing a repository?
If the repo you want isn’t in the list:
- Click Configure on GitHub (or GitLab) next to the repository selector.
- Add the repository or organization to the installation.
- Return to Sitepins — the list refreshes automatically.
Still missing? Confirm the repository belongs to the same account you authorized, and that the app installation covers it rather than a different set of repositories.
Clone a Template
If you don’t have a repository yet, start from one of the ready-made templates. Sitepins forks the template into your own GitHub account and creates the project for you, in five automated steps.
This is covered in full in Start From a Template.
Import a Purchased Theme
Premium themes bought from Themefisher or GetHugoThemes link straight back into Sitepins after checkout. Sitepins verifies the purchase, creates a private repository on your GitHub account, downloads and uploads the theme files, and sets up the project — seven steps, all automatic.
You’ll need your GitHub provider connected first. If a step fails, each one has its own Retry, and conflicts (a repository or project of that name already exists) offer a resolution inline.
What Happens Next
After the site is created, Sitepins takes you to configuration, where you tell it which folders hold your content, media, and config files. Follow Configure Your Site to finish setup.
Deployment
Sitepins commits to your repository — it doesn’t deploy. If your repo is already connected to Vercel, Netlify, Cloudflare Pages, or a CI pipeline, every Sitepins commit triggers a build exactly like a commit you pushed yourself. Nothing extra to configure.
If the site isn’t deployed anywhere yet, Sitepins offers a one-click Deploy to Vercel from the setup checklist. See Deployment.
Need Help?
- Join the Discord community
- Contact support