A quick map of the interface, so the rest of these docs make sense.
Organizations and Sites
Everything in Sitepins lives inside an organization. An organization holds sites, members, and shared settings. You get a default one when you sign up, and you can create more to separate clients or teams.
- The organization switcher sits at the top of the sidebar
- The site switcher next to it moves between sites in the current organization
- Add New Site creates another site in the organization you’re currently in
See Organizations for managing them.
Project Overview
Opening a site lands you on its overview page.
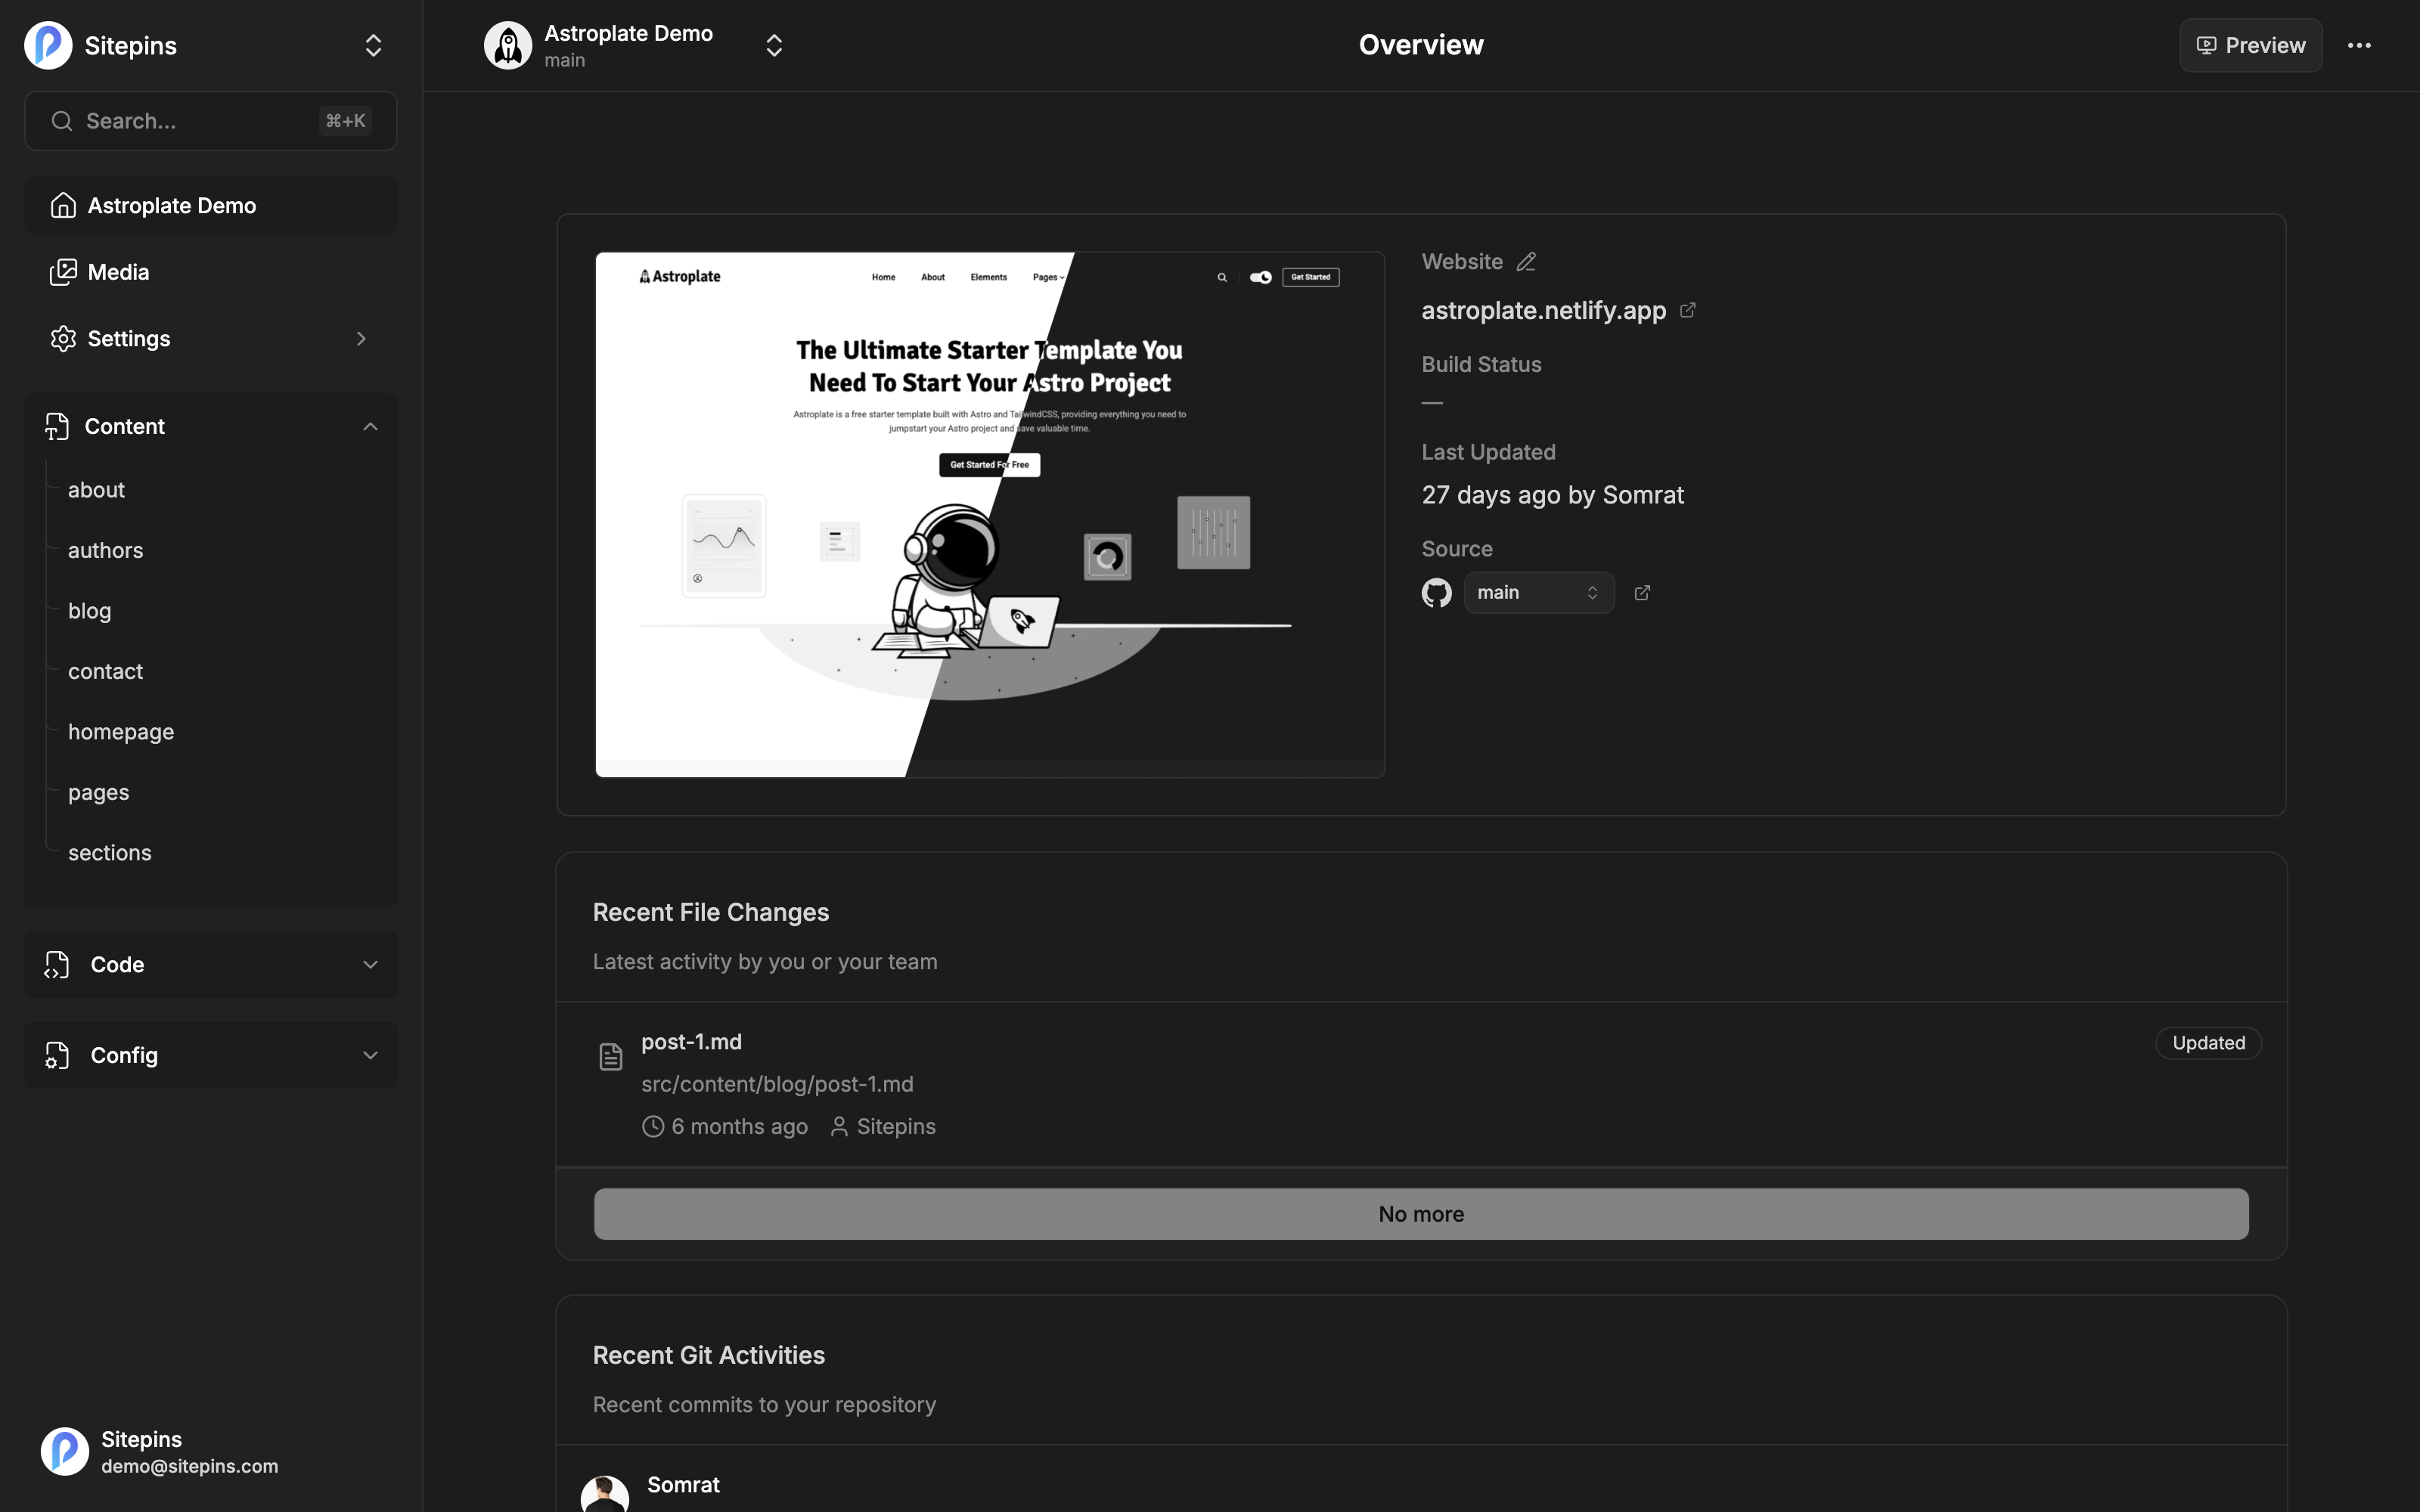
It shows:
- A preview image of the live site
- The website URL and the connected repository, branch, and provider
- Build status — whether the last commit deployed successfully — Pro
- Last updated by — who made the most recent commit, linking to the provider
- Recent Git Activities — recent commits, with restore and undo actions — Pro
- Recent File Changes — an activity feed showing files created, updated, deleted, renamed, and duplicated
Getting Started checklist
New projects show a four-step checklist that ticks itself off as you go:
- Add New Site — done already if you’re looking at this
- Configure Project — set your content and media folders
- Publish First Content — make one edit and commit it
- Deploy Site — one-click deploy to Vercel, or paste the URL if you’re already deployed elsewhere
The Sidebar
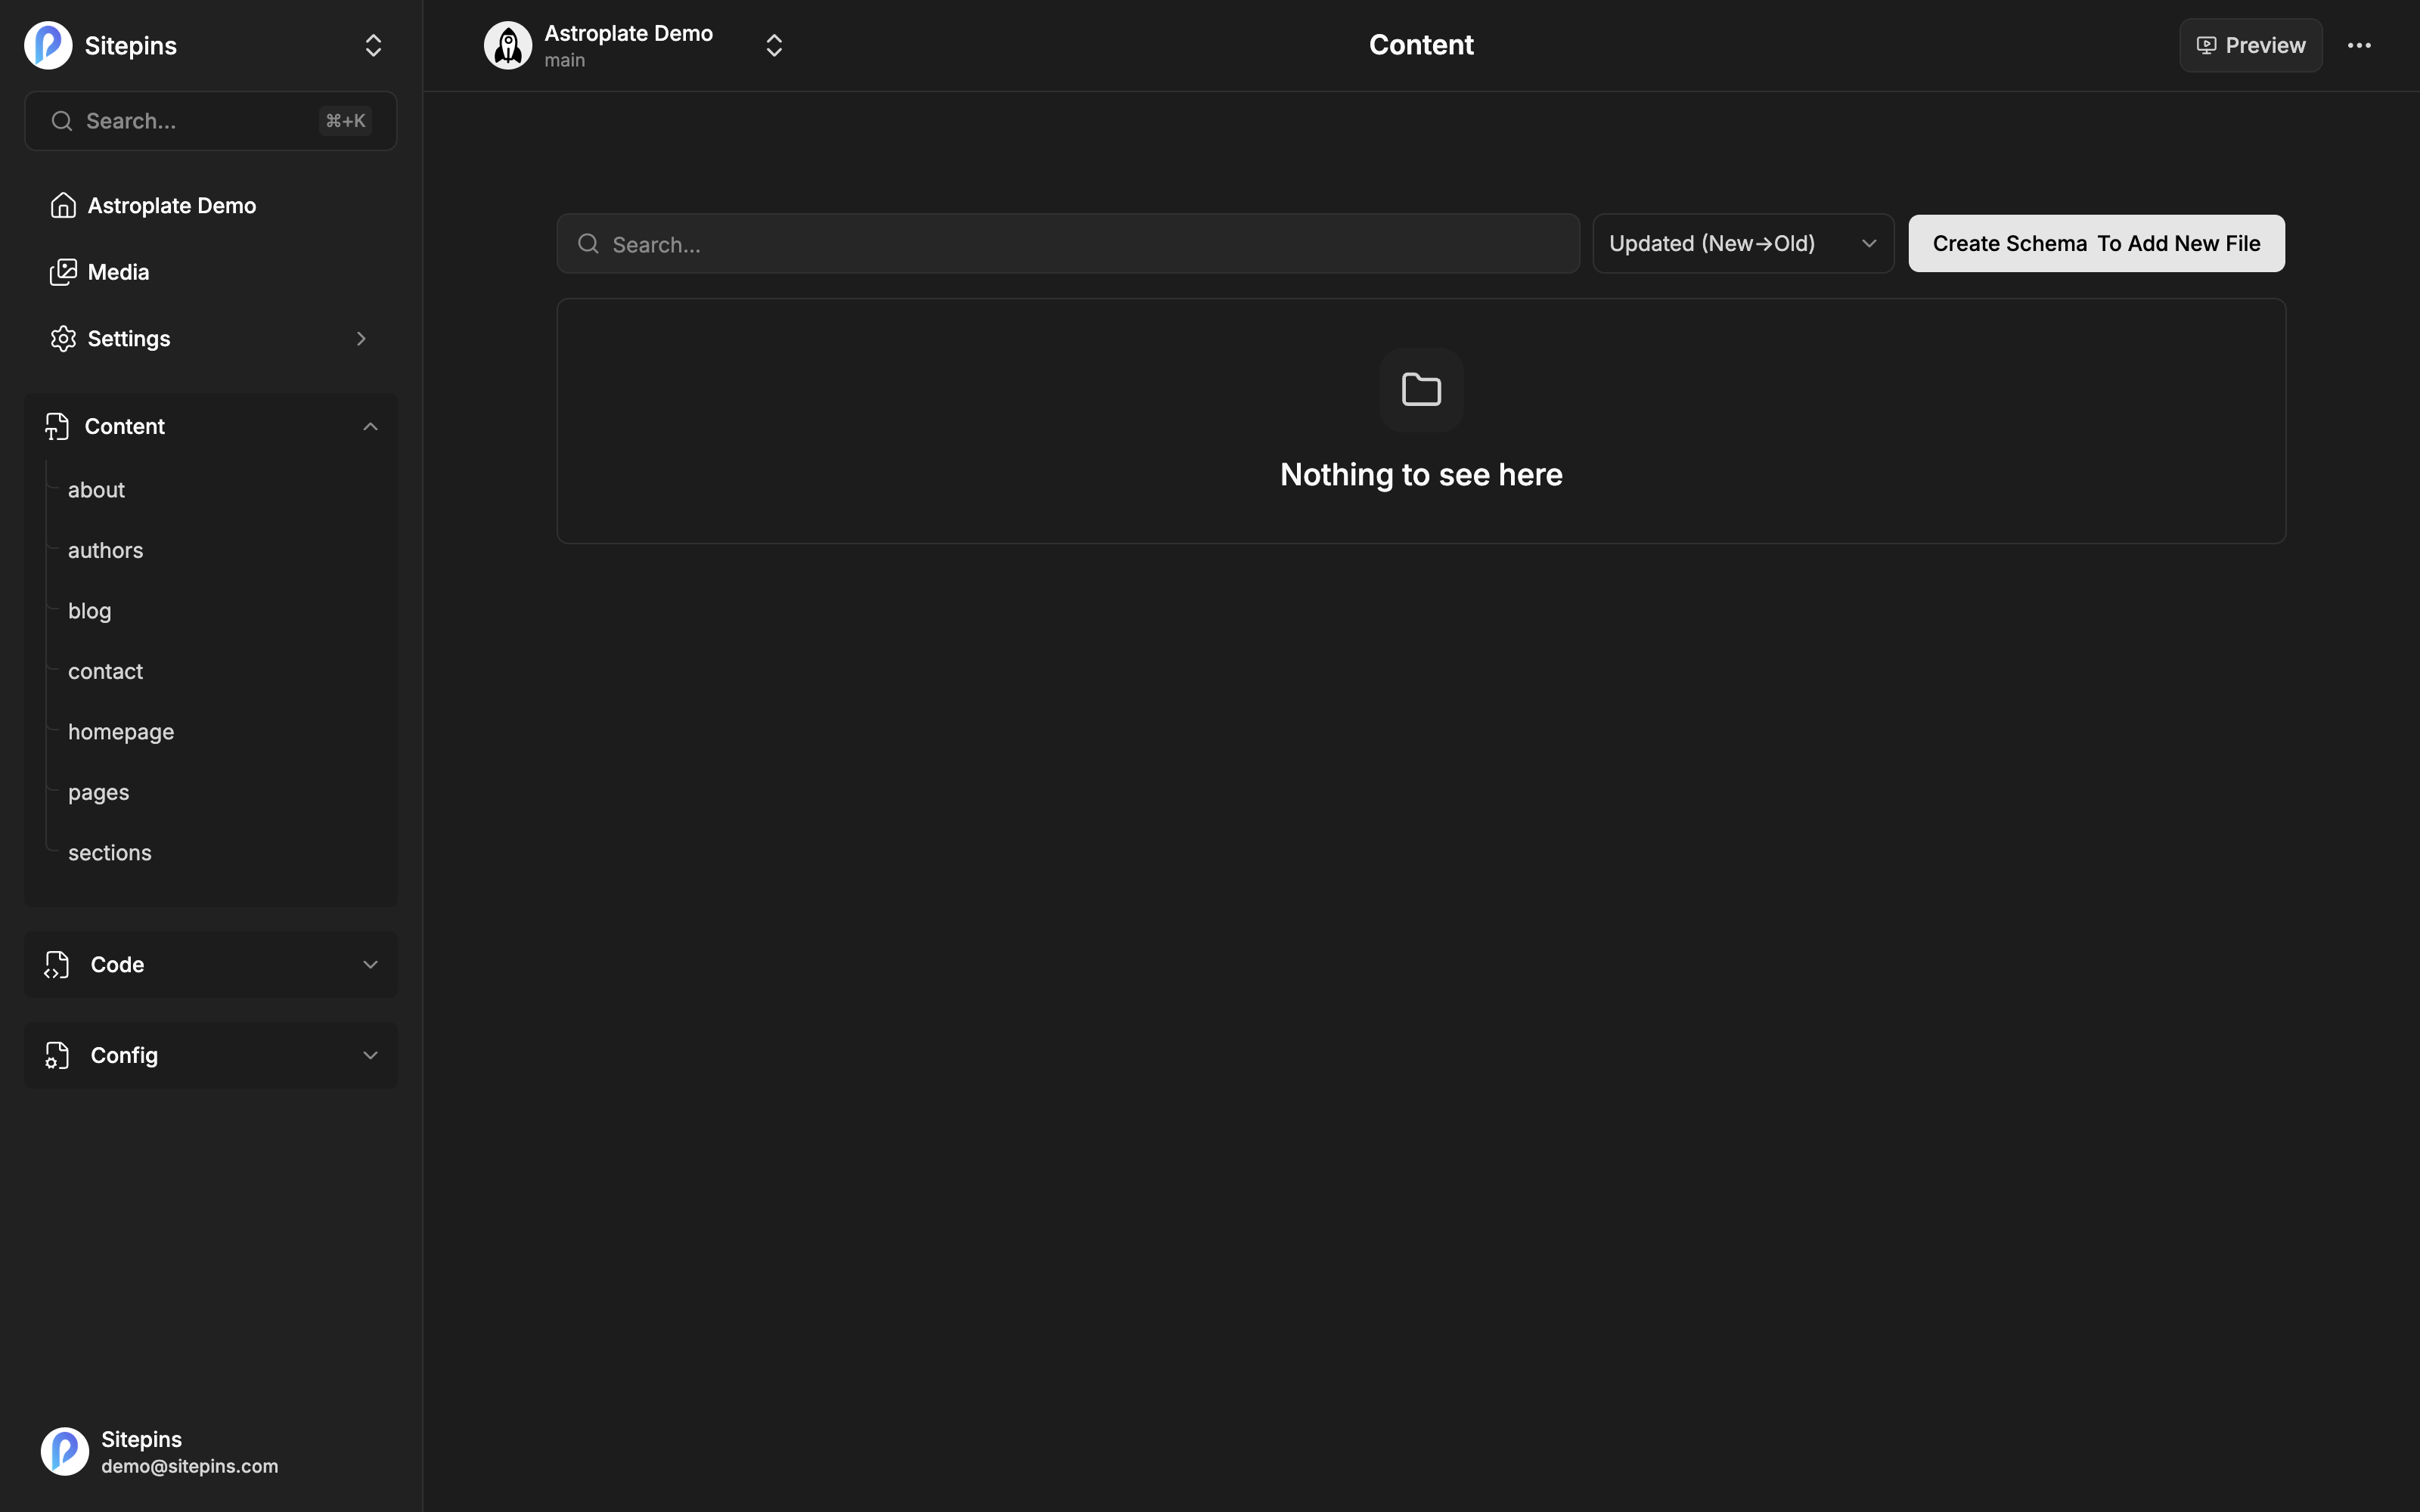
The left sidebar is your file navigation. Sections appear based on what you configured:
| Section | What it contains |
|---|---|
| Content | Your content folder, as a browsable tree |
| Media | The media library |
| Configs | Config files you selected during setup |
| Code | The whole repository, in a code editor — Pro |
| Settings | Project settings — General, Configure, Git, Schemas, Snippets, Arrangement |
At the top is the search box — press Cmd+K or Ctrl+K from anywhere. See Global Search.
The order and grouping of the Content tree follows your repository by default. You can override it without touching the repo — see Sidebar Arrangement.
The Editor Layout
Opening a content file splits the screen in two:
- Frontmatter panel (left, about 40%) — the structured fields from your file’s frontmatter, rendered as a form
- Content editor (right, about 60%) — the body of the document
The divider is draggable. On screens narrower than about 1536px the two become tabs — Frontmatter and Content — instead of panes.
Config files show the frontmatter form only, full width, since they have no body.
The editor header
Along the top:
- Presence avatars — who else has this file open
- Build status badge — Pro
- Preview — start or open a live preview — Pro
- SEO — open the SEO panel — Pro
- Reset — discard your unsaved changes
- The save split-button — Publish, Push as Draft, Save as Draft, or Discard Saved
The save button is covered in detail in Saving & Publishing.
Your Account Menu
The bottom of the sidebar holds your profile, and the menu there covers everything that isn’t tied to one site:
- Account — name, picture, password, account deletion
- Preferences — language, theme, and Git co-authoring
- AI Agent — connect your AI provider and key
- Billing and Overview — plan, usage, and payment history (Sitepins Cloud)
- Support and Updates — Discord and the changelog
Next Step
Start editing: the Rich Text Editor.