Configuration tells Sitepins where things live in your repository. It’s four fields, and Sitepins suggests values for all of them based on the framework it detected.
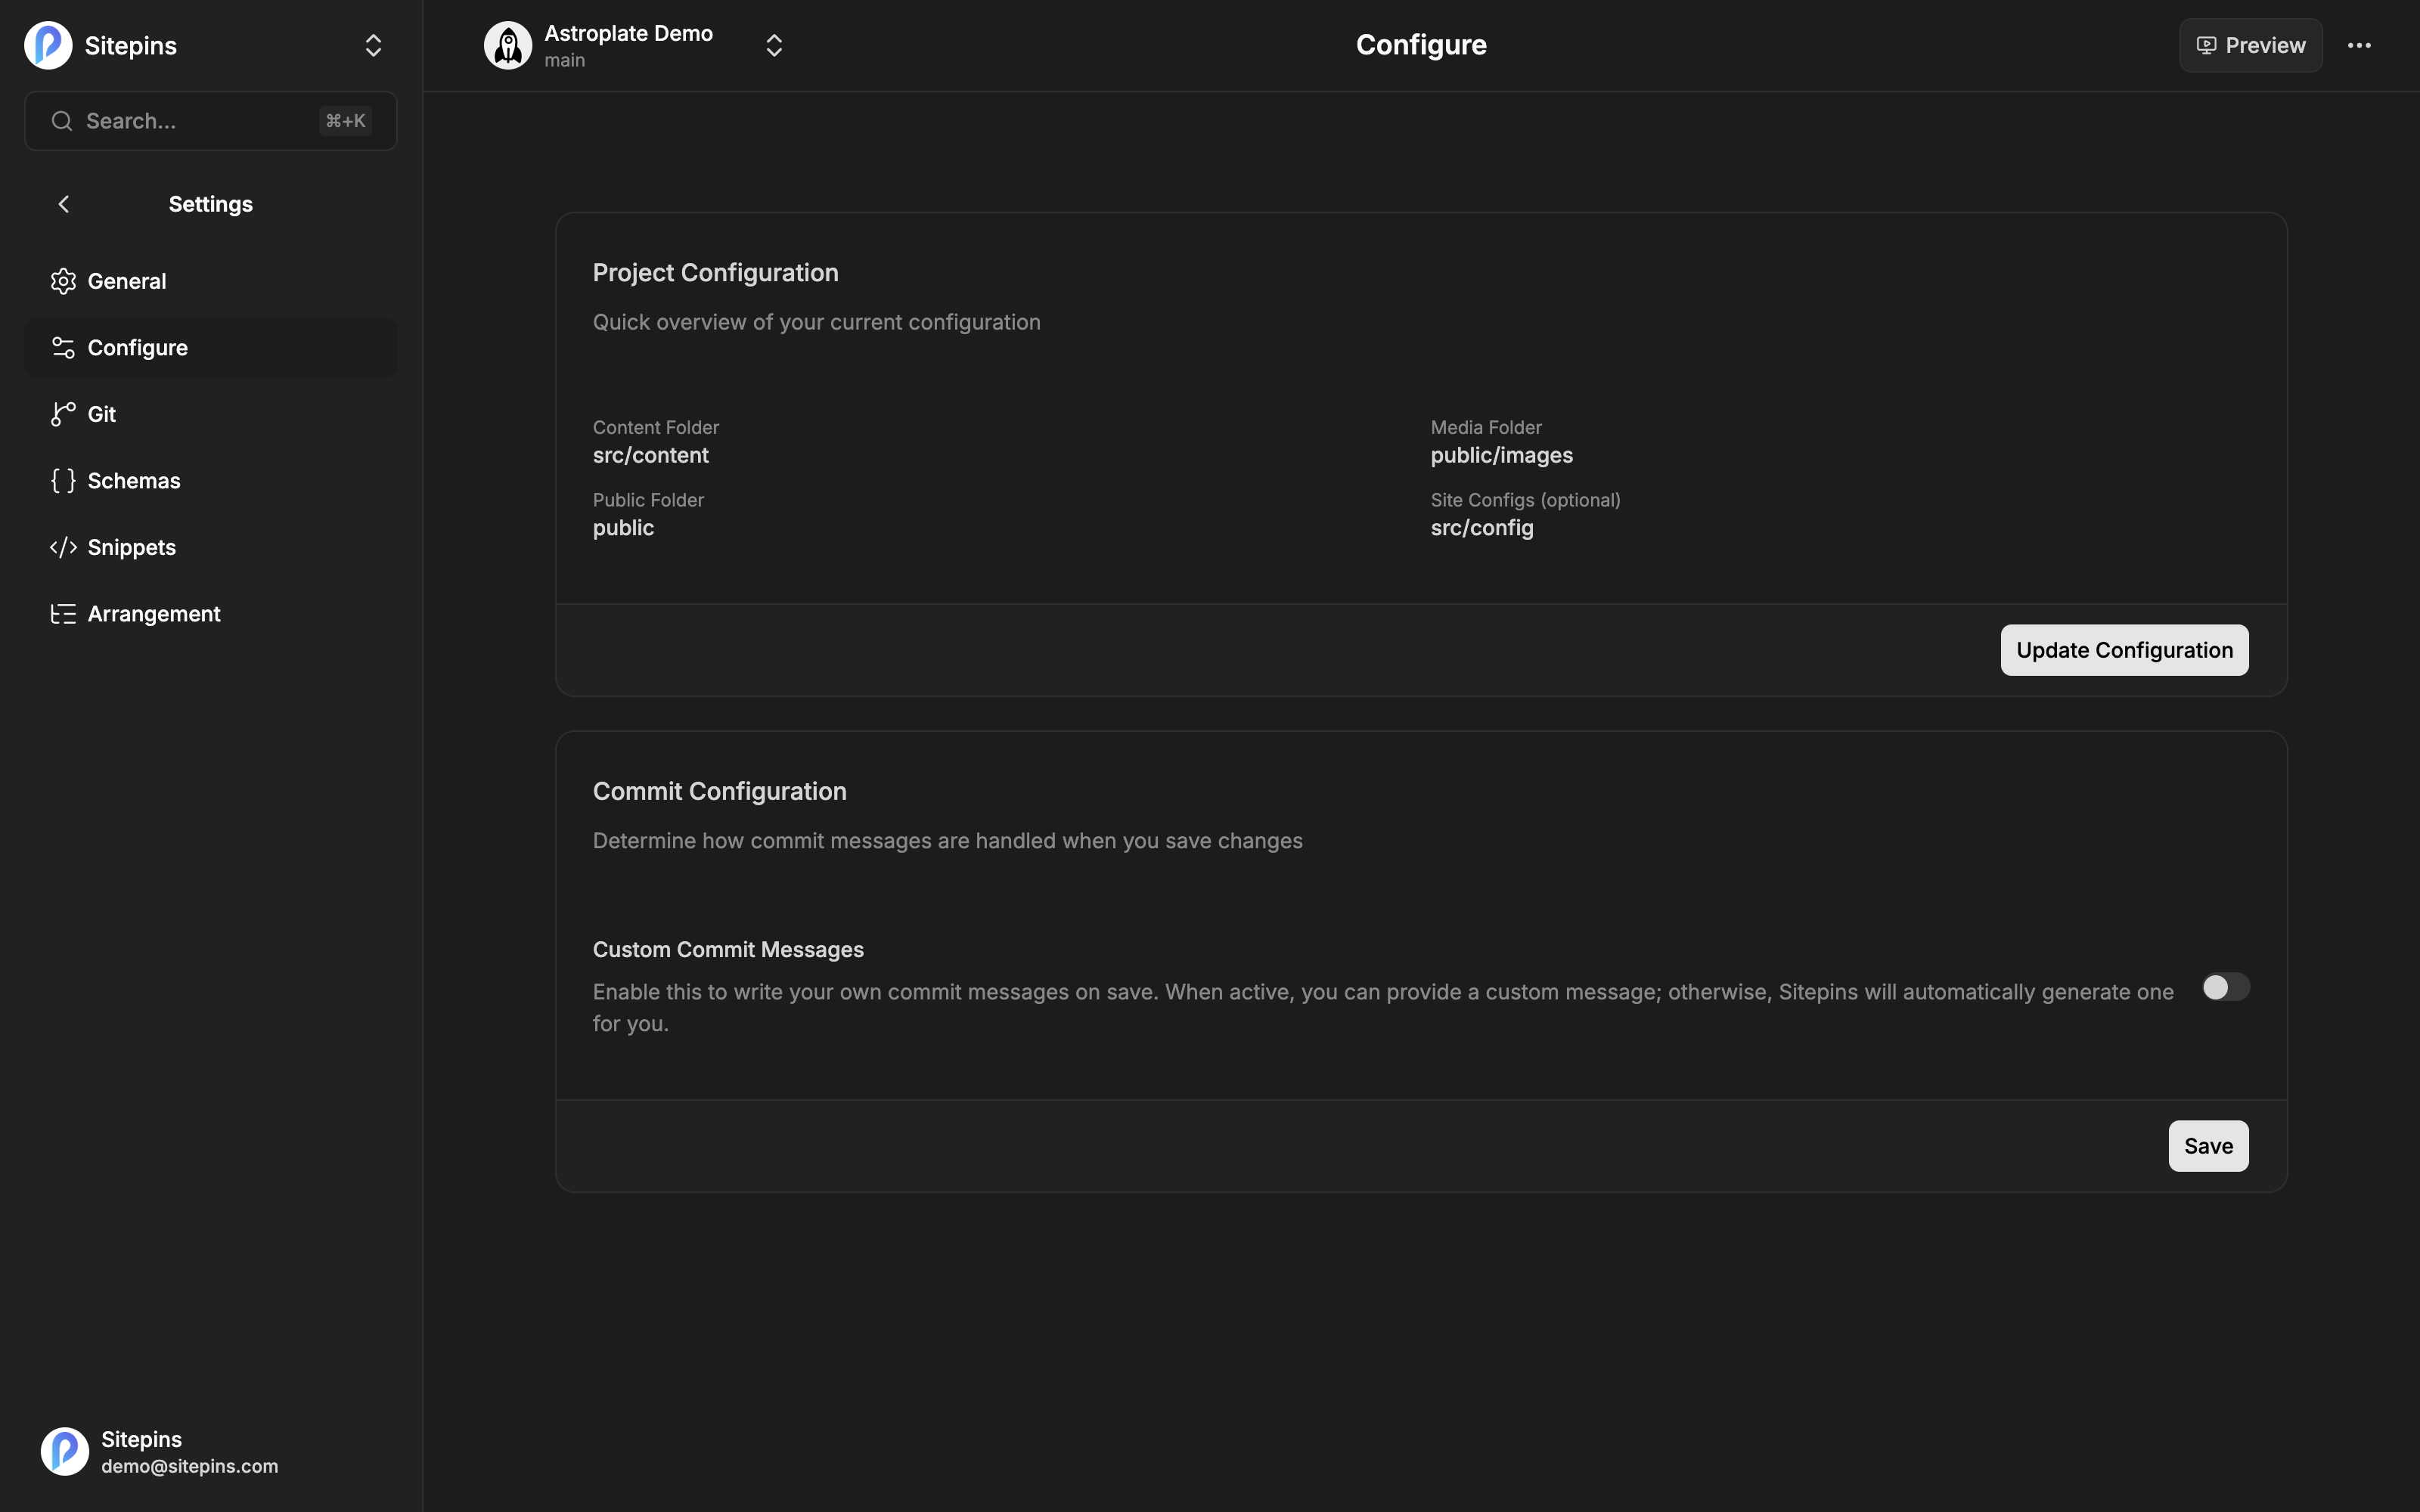
Sitepins auto-detects Astro, Next.js, Hugo, and TanStack Start by reading your config files and package.json, and uses that to suggest folders. If your framework isn’t detected, nothing breaks — you just pick the folders yourself.
Step 1: Content Folder
The parent directory containing your content files — Markdown, MDX, JSON, YAML, or TOML.
Suggestions by framework:
- Astro / Next.js / TanStack Start —
src/content - Hugo — the language content folder, for example
content/english(orexampleSite/content/englishin theme repositories)
Click the dropdown to browse every folder in your repository and pick the one that holds your content.
Hugo users: Hugo stores content inside a language folder set by contentDir in config/_default/languages.toml. Point Sitepins at that language folder rather than its parent — it keeps schema filenames simple. See Content Schemas for why this matters.
Getting this wrong is the most common setup problem. If the content folder doesn’t match your actual structure, Sitepins can’t map your files and the sidebar comes up empty or wrong.
Step 2: Media Folder
The directory where Sitepins uploads and manages images and other assets.
Suggestions by framework:
- Astro / Next.js —
public/images - Hugo —
assets/imagesorstatic/images
Step 3: Public Folder
How your site refers to those assets in the browser.
Suggestions by framework:
- Astro / Next.js —
public - Hugo —
static
When you select a Media Folder, Sitepins automatically suggests its parent as the Public Folder — pick public/images and it proposes public.
Media Folder vs Public Folder
These two are easy to confuse, so here’s the difference:
- Media Folder is the real path in your repository. Example:
public/images/blog. It’s where uploads are written and what the media library browses. - Public Folder is the prefix that gets stripped when generating URLs. Example:
public. It’s what makes an image stored atpublic/images/blog/hero.pngrender as/images/blog/hero.pngin your site.
Get the public folder wrong and images will look fine in the editor but 404 on the deployed site.
Step 4: Site Configs (Optional)
Select the configuration files that control your site’s theme, navigation, or metadata. Sitepins renders them as editable forms so non-technical editors can change a menu label or a homepage headline without opening a code editor.
Suggestions by framework:
- Astro / Next.js —
src/config - Hugo —
config/_default,hugo.toml,data,i18n
You can select individual files (theme.json, menu.json, config.json), whole folders, or any mix. Selected files appear under Configs in the sidebar. See Config Files.
Saving Your Configuration
- Review your selections.
- Click Finish Setup on first run, or Update Configuration afterwards.
Sitepins writes .sitepins/config.json into your repository, plus a small manifest at <public folder>/.well-known/sitepins.json. Both are committed like any other change.
Once saved:
- Sitepins scans and maps your content files
- The folder tree appears in the sidebar
- The visual and Markdown editors become available
- The media library is ready
Commit Configuration
Below the folder setup is a single toggle: Custom Commit Messages.
Pro plan. Available on Pro and above, during the free trial, and in every self-hosted install.
- On — a dialog appears before each commit where you write the message and an optional extended description
- Off — Sitepins generates the message for you (“Update file”, “Rename X to Y”, “Create new blog”, and so on)
Turn it on if you follow a commit convention or work in a repo with strict history rules. Leave it off for a faster save loop.
Changing Configuration Later
Go to Project Settings → Configure at any time, adjust the paths, and save.
Changing the Content Folder or Media Folder after you’ve been editing changes how existing files map into the interface. Files don’t move or disappear, but the sidebar will be rebuilt against the new paths and schemas may no longer match their folders.
Next Step
Setup is done. Take a look around with the Interface Tour, or go straight to the Rich Text Editor.