To start using Sitepins, all you need is an existing Git repository (GitHub or GitLab) for your static site.
Follow these simple steps to connect your project and begin editing content visually.
🎥 Prefer Video?
If you’d rather watch a walkthrough, check out this quick video guide:
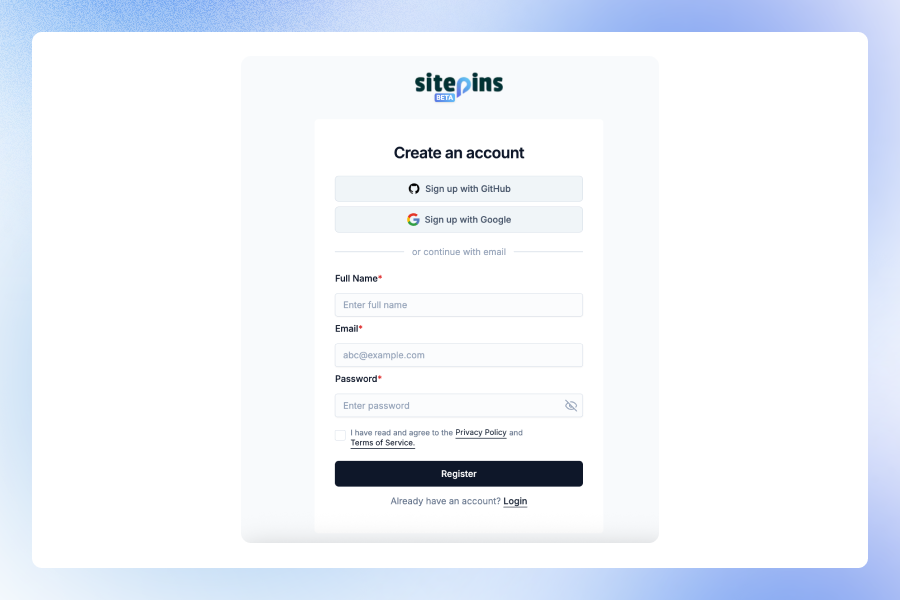
Create a Sitepins Account
Go to app.sitepins.com and sign up if you haven’t already.
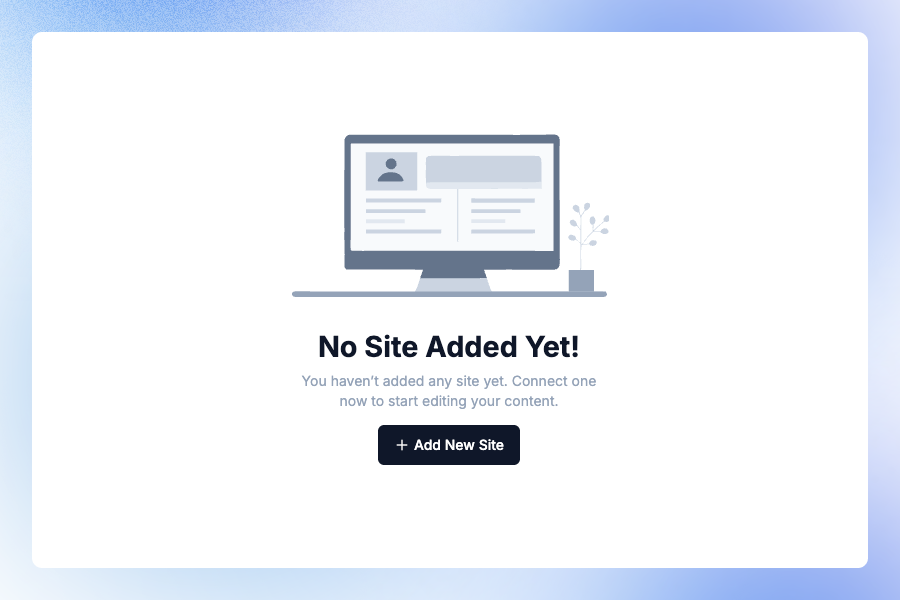
Add a New Site
Once logged in:
- Click “Add New Site”
-
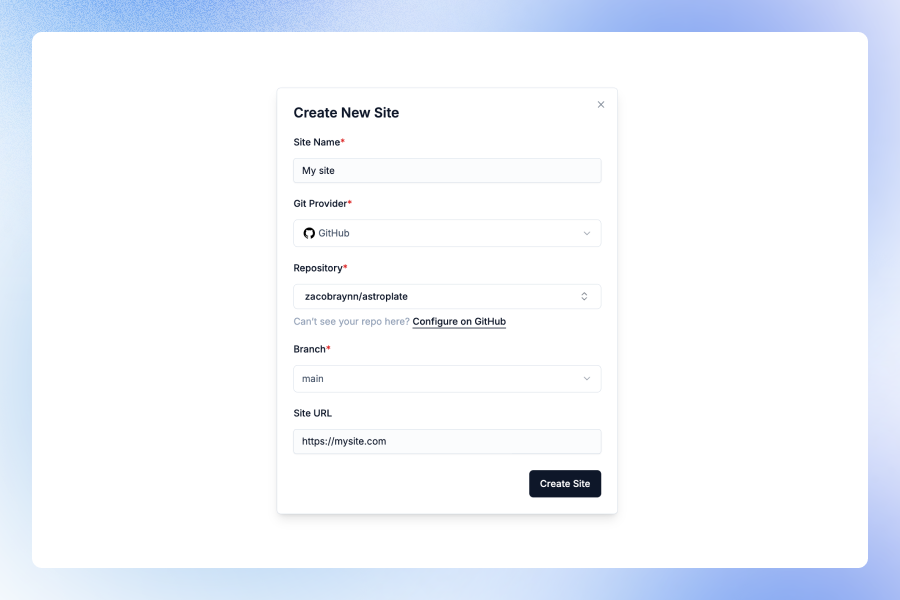
Fill out the following:
- Site Name - A friendly name to identify your site in the dashboard
- Git Provider - Choose between GitHub or GitLab (Bitbucket coming soon)
- Select Repository - Choose from your connected Git provider account
- Website URL (Optional) - Your site’s live URL for reference
-
Click Create Site
Authorize Your Git Provider
GitHub Authorization
When you click “Add New Site” for the first time, you’ll be prompted to authorize Sitepins with GitHub:
- Click “Authorize with GitHub”
- Approve the requested permissions
- After authorization, you’ll be redirected back to the dashboard
Sitepins only requests the minimum necessary access to manage your repositories for deployment.
Missing a Repository?
If you don’t see the repository you’re looking for:
- Click “Configure on GitHub” (or GitLab)
- You’ll be redirected to your Git provider’s install flow
- Choose the repositories or organizations you want to grant Sitepins access to
- Return to Sitepins – your repo list will automatically refresh
Still not showing? Click “Refresh Repositories” or ensure the repo is under the same account you authorized.
What’s Next?
After creating your site, you’ll be taken to the configuration page where you’ll set up:
- Content folders
- Media storage locations
- Code folders (optional)
- Site configuration files (optional)
- Commit message preferences
Check out the Configure Your Site guide to complete your setup.
Auto Deploy
Once configured, all edits you make in Sitepins are committed directly to your Git repository.
If your site is connected to a deployment platform like Vercel, Netlify, or Cloudflare Pages, each commit from Sitepins will automatically trigger a build and deploy the latest changes to your live site.
Need Help?
- Join our Discord Community
- Contact Support