Setting Up a New Site
To start using Sitepins, all you need is an existing GitHub repository for your static site.
Follow these simple steps to connect your project and begin editing content visually.
🎥 Prefer Video?
Section titled “🎥 Prefer Video?”If you’d rather watch a walkthrough, check out this quick video guide:
-
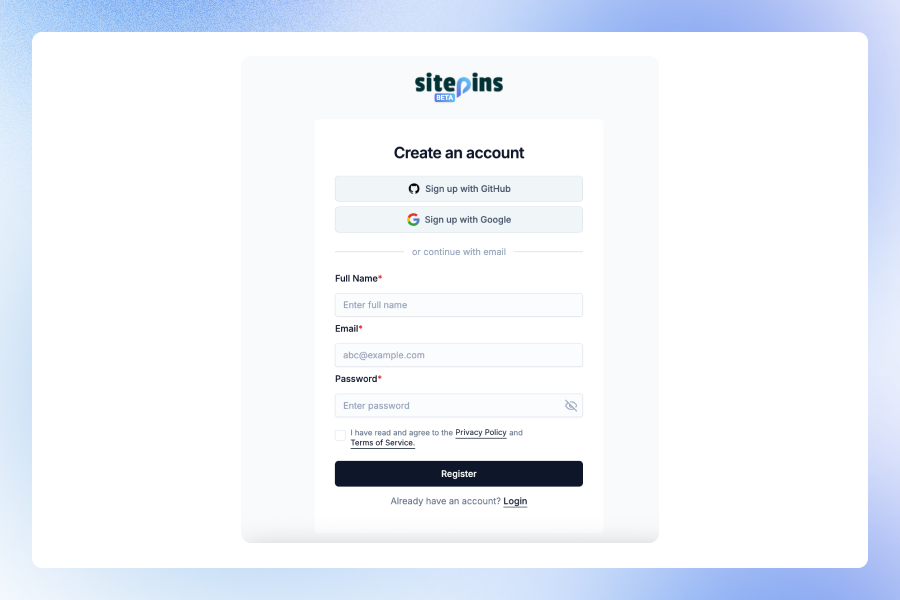
Create a Sitepins Account
Section titled “Create a Sitepins Account”Go to app.sitepins.com and sign up if you haven’t already.
-
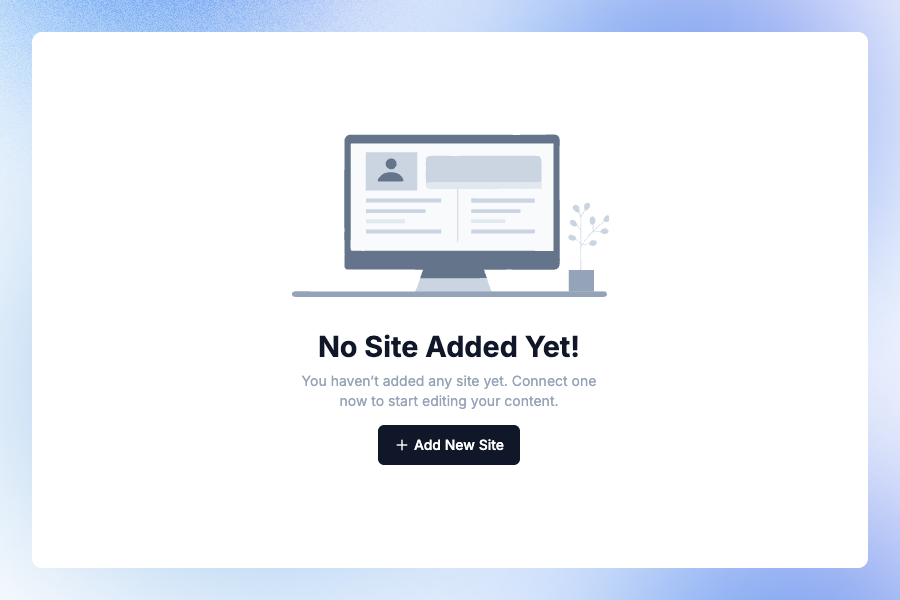
Add a New Site
Section titled “Add a New Site”Once logged in:
- Click “Add New Site”
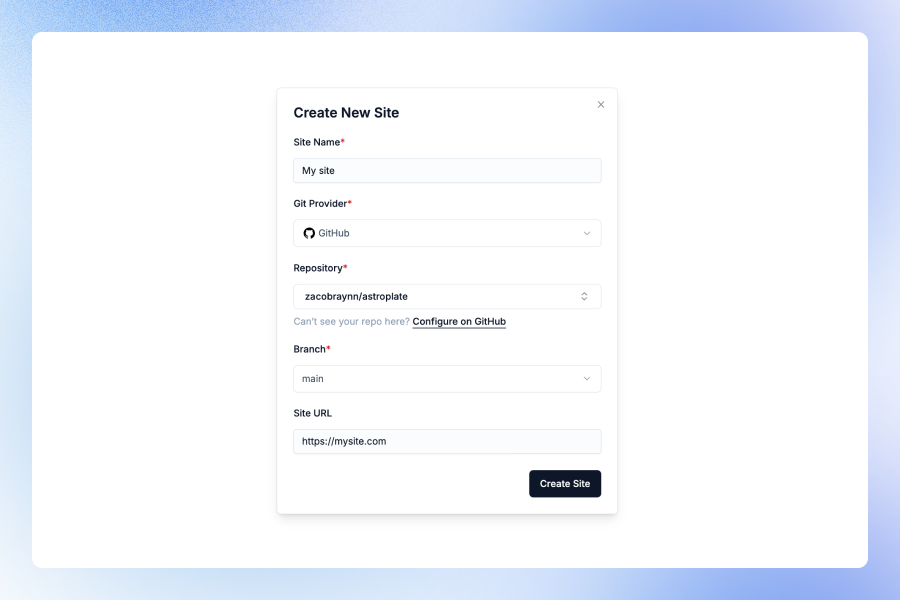
- Fill out the following:
- Site Name
- Git Provider (Currently only GitHub is supported. GitLab and Bitbucket coming soon.)
- Select Repository from your GitHub account
- Enter your Website URL (Optional)
- Click Create Site
-
Configure Your Content and Media Folders
Section titled “Configure Your Content and Media Folders”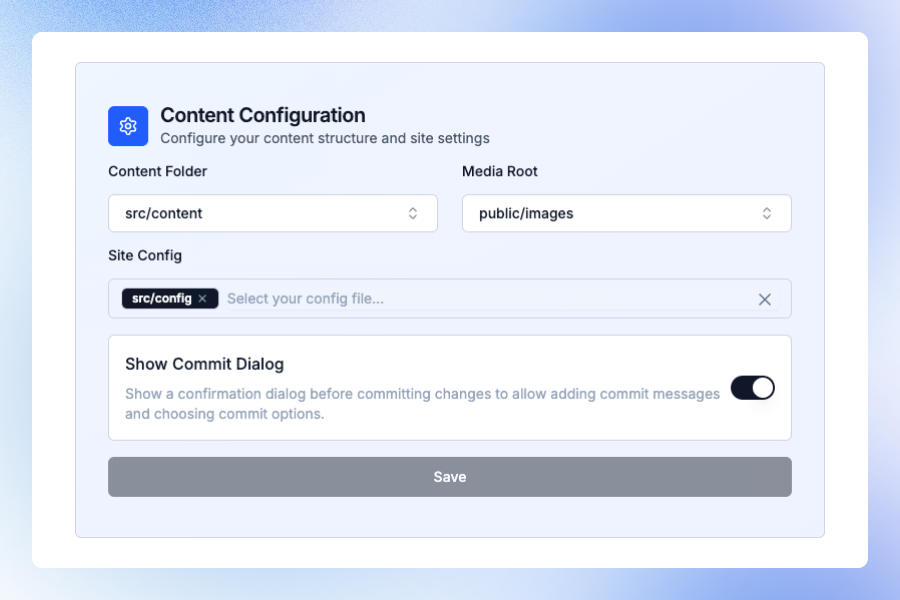
After creating your site, you’ll be prompted to select:
- Content Folder (e.g.,
src/content) - Media Folder (e.g.,
public/images) - Site Config Files (optional, e.g.,
src/config/theme.json)
You can also enable or disable the commit dialog if you want to customize Git commit messages before saving changes.
Click Save to apply your configuration.
- Content Folder (e.g.,
-
Start Editing
Section titled “Start Editing”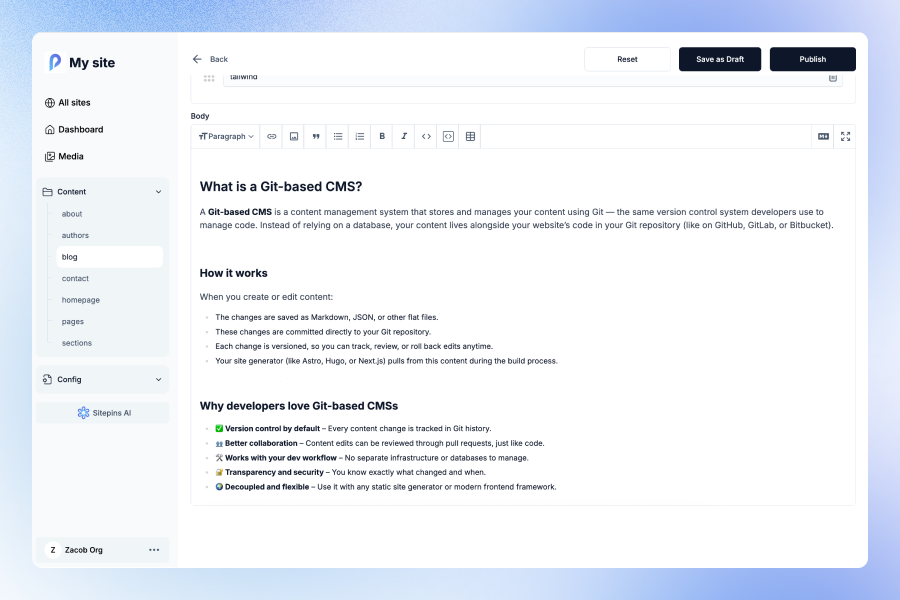
Sitepins will scan and map your content files automatically. You’ll now see:
- A folder structure on the left panel
- A visual editor and Markdown view for editing your content
- A Media Library for managing images and other assets
All edits are committed directly to your GitHub repository.
-
Auto Deploy
Section titled “Auto Deploy”If your site is connected to a deployment platform like Vercel, Netlify, or Cloudflare Pages, each commit from Sitepins will automatically trigger a build and deploy the latest changes to your live site.
That’s It!
Section titled “That’s It!”You’ve connected your project to Sitepins and can now start editing content visually.
If you’re want to customize how your content appears in the Sitepins sidebar, check out the next Content Arrangement Guide.